Today is my first DIY Tuesday Shoesday! I want to share with you how to make your own DIY glitter/sparkly shoes. This technique is extremely easy and can be applied to almost any type of shoe (flats, high heels, boots). The shoes I used were suede, but you could test the mixture on other materials to see if the adhesion works well.
Supplies:

- Shoes
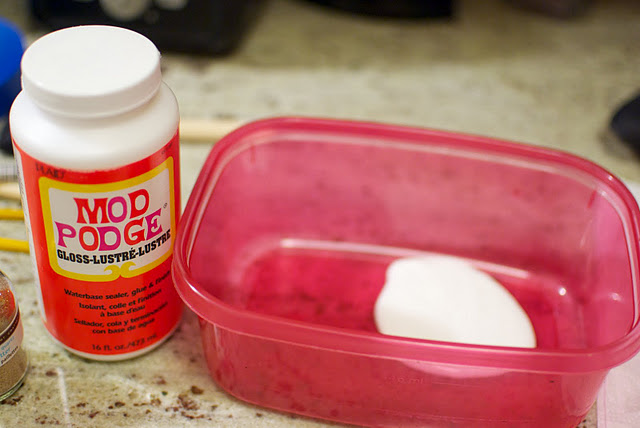
- Mod Podge – Gloss Finish
- Glitter – I used Martha Stewart Crafts Fine Glitter, Smoky Quartz
- Painter’s Tape – such as 3M ScotchBlue Painter’s Tape for Multi-Surfaces
- Various brushes that you don’t mind ruining
- Plastic Wrap
- Shoe Sealer/Waterproofer – such as Kiwi Camp Dry, Heavy Duty Water Repellent
- Shoe Goo, Clear
or other shoe glue/adhesive (optional)
Time: A few hours, including dry time. Plus and additional 12-24 hours dry time depending on your selected Sealer.
Difficulty Level: Easy!
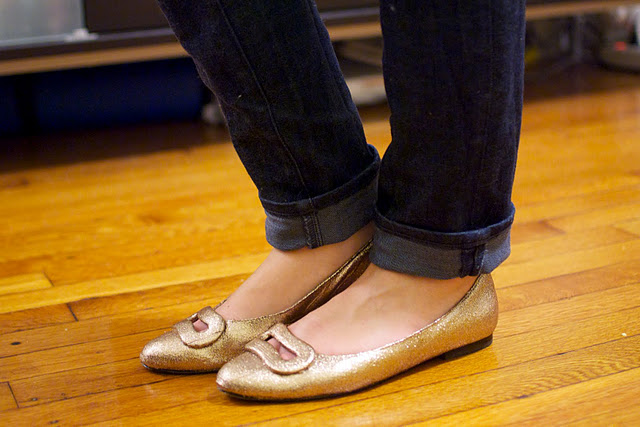
Step 1: Get out your shoes and remove any dirt or residue. Also remove any embellishments that will be hard to neatly apply the glitter around. These shoes had a toe embellishment that I glitter painted separately from the shoes and then re-applied. As you can see, my shoes were in pretty rough shape. They were originally royal blue suede flats from Banana Republic, but following a battle with a gallon of black latex paint (a story for another day) and an unsuccessful dye job, they were left as seen below.

Step 2: Prepare the “glitter glue”. Pour some Mod Podge into a washable container, add a generous amount of glitter and mix. There isn’t any magic proportion of glue to glitter, but the more glitter you add, the fewer coats you will need to apply to your shoes.


Step 3: Using painter’s tape, cover the soles and interior of your shoes to prevent over painting.

Step 4: Apply a coat of the glitter mixture onto your shoes with a foam or bristle brush. The glitter will not be solid yet, see my images below.


Step 5: Cover the glitter mixture with plastic wrap in between coats to prevent drying. Allow the applied coat to dry; mixture will turn from white to clear.

Step 6: Repeat steps 4 and 5 until desired glitter effect is created. Mine took about four coats, but if you add more glitter at the beginning you may complete the project with fewer.


Step 7: Once your final glitter coat has dried, apply one coat of plain Mod Podge to seal the glitter, remove the painter’s tape and allow to dry. Once dry, apply any desired embellishments using shoe glue (I used Shoe-Goo Original). Then seal with a shoe sealer/waterproofer to protect the glitter finish from the elements. Follow sealer directions for drying time.


Step 8: Enjoy!

All images by Kate