
This is something I really wish had discovered during my planning stages. At that time, I was reading TONS of wedding blogs during my lunch breaks, but had to rely on memory for the web addresses and names of blogs that I enjoyed. Enter Google Reader. Now, I am sure many of you already use google reader to categorize and read blog feeds, but do you know about the “next” button? This simple toolbar add on allows you to use google reader, but view the blog post in it’s native format. There are many benefits to this:
- The post looks better as in the design the blogger intended than it does in the google reader viewport
- You can comment very easily on posts as it takes you to the post page (not the blog main page)
- You can easily “pin” images to Pinterest and it will link to that post, not the main blog page
- You can easily share the post with the blog’s built in social media icons
- You can easily “like” the post on your stumbleupon toolbar
So here is how you do it:
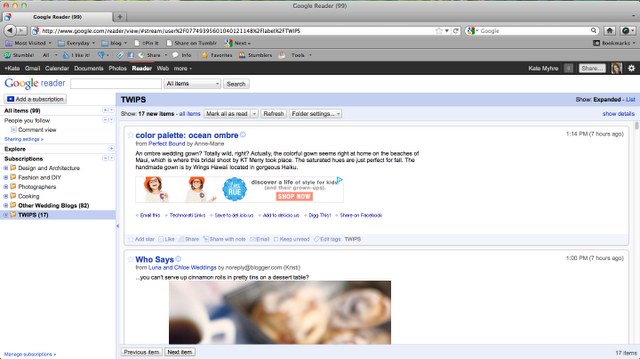
Step 1 – Open your Google Reader
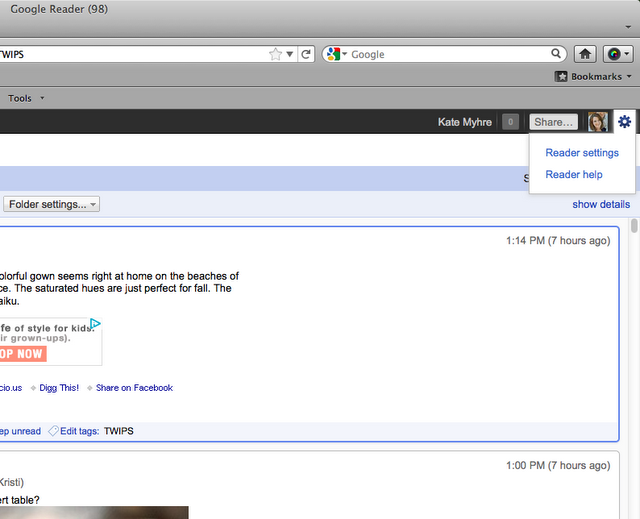
Step Two: Click the settings icon in the upper right corner and then select “reader settings” from the drop down menu as shown.
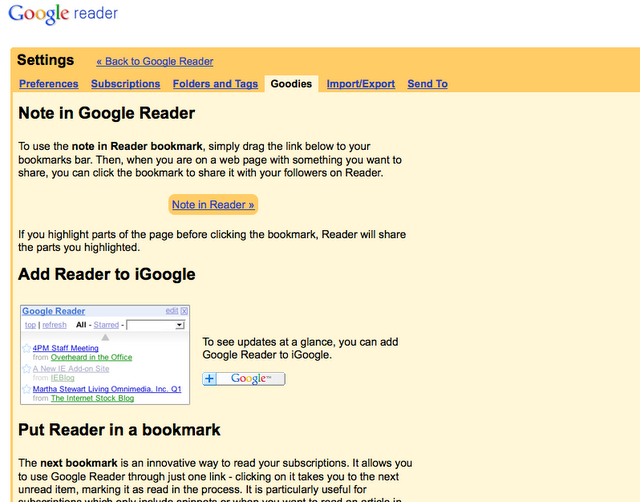
Step Three: Select the “goodies” tab as shown.
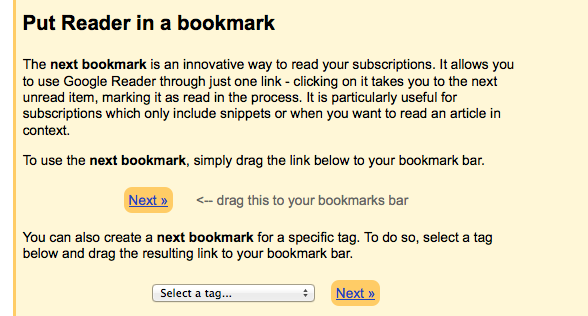
Step Four: Scroll down to the “put reader in a bookmark” section and drag the “next >>” icon, as indicated, to your bookmarks toolbar. Note: You can also use the “select a tag…” drop down to create a custom “next” button for a specific folder of blogs in your reader.
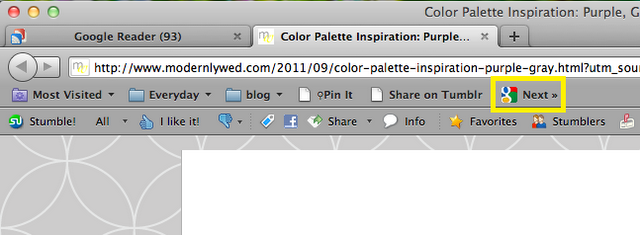
Step Five: Go back to your reader and select a post, opening it in a new tab. When you are finished reading the post, click your new “next” button to move to the next blog in your reading list. Easy!
So…did you already know about the “next” button? Do you, or will you, use it? Do you have any other blog reading organization tips to share?